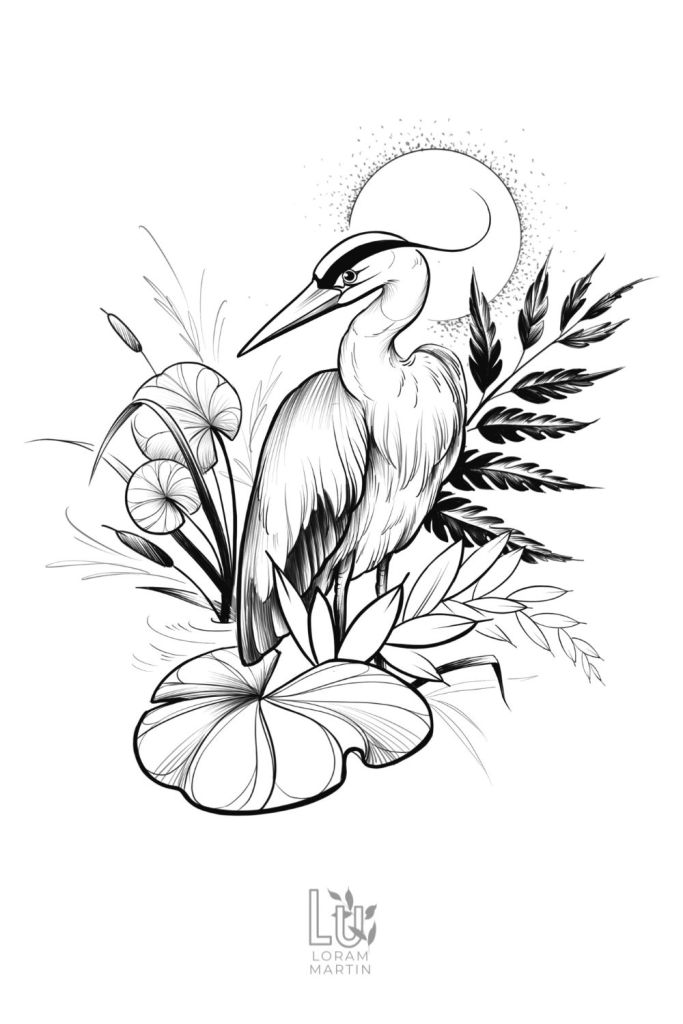
So here’s a little information about my current design process for custom tattoo designs.
This does not apply to freehand work or flash designs, and is just my average process. Things can work differently client to client.
Also this is just the way I like to design tattoos, I am not speaking for any other tattooers! We all have our own processes.
---------------------------
Prior to starting any design work, I will already have a fairly clear idea of what my client wants from their tattoo. I will have a page set up for them in my Notion calendar with all the information they sent over in their project request form.
I normally start thinking about a design around a week prior to an appointment. I involve my client in the design process and there are multiple check points that I reach with them before a design is finalised. The majority of my tattoo design work is done digitally, and sent via email.
------------------------------
STEP 1: before we get going
I will initially send an email confirming the design request (and with any questions I may have). There is usually a fair amount of time between when my client submits their project request and the date of their tattoo. So it is best to make sure we are on the same page before design work begins.
I do have a clause in the booking process stating 'any major changes in design will be treated as a new project request and be reviewed before I agree to taking the piece on'. This means a client I have booked in for, say, a turtle tattoo doesn't suddenly decide they will be getting a portrait of their mum instead.
Obviously small design changes aren't an issue as long as I know about them beforehand, so that's why I check in before I begin drawing. There might be a few back and forth emails at this point before any design work begins.
STEP 2: Initial sketches
The next step is an initial sketch. This sketch will normally be veeery scrappy and look fairly terrible. I will not be concerned with details at this point. This stage is only concerned with layout of subject matter, overall composition, and placement. Occasionally I may send more than one option at this stage.
STEP 3: refined sketch
The next stage will be finalising the sketch. If I have sent over multiple options previously I will only move one design froward to this stage. This will usually be a more refined sketch with a little more detail. This step is occasionally repeated if changes need to be made, or if I still have some options in mind, like with the design below...
STEP 4: outline
Once this sketch is okayed by the client I will create a clean outline for the design. For some pieces there is some freehand work involved, which means I will draw the design straight on to the body on the day of the tattoo. This is usually floral and filler elements and means I can tailor the design to flow perfectly with the body. If this is the case I will only take the elements of the design that need a stencil made into an outline, and the freehand parts will remain as a sketch.
STEP 5: details
Then we have the final details. Sometimes this step is not required, but if it is I usually do this the night before or morning of the appointment. It will often be a little less refined than in the design below, but will give a good idea of the final look.
LAST STEP: tattoo
And then, we turn it into a beautiful tattoo...
Thanks for reading about my design process!
Subscribe to my newsletter to keep up-to-date with what I'm up too!
Or follow me on social media...check out my instagram here.
Have a great rest of your day!
Lu


